Bill Hagen's Chevy LT-1 / 6 spd powered '94 RX-7
Bill Hagen's Chevy LT-1 / 6 spd powered '94 RX-7
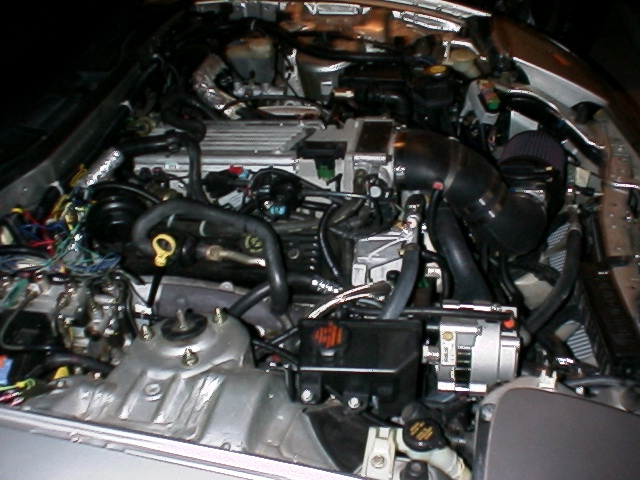
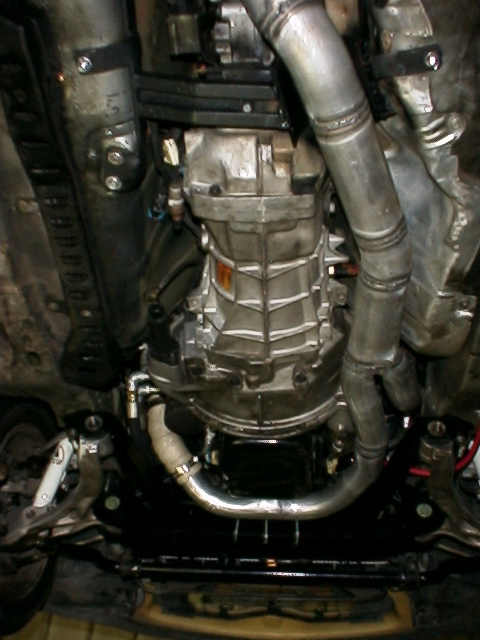
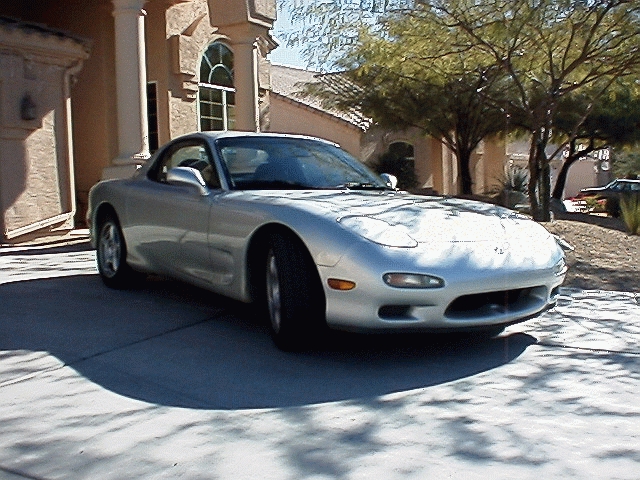
This '94 RX-7 is one of the first V-8 powered 3rd gen cars on the road using our new subframe. The engine is an LT-1 from a late model Camaro, as is the BW T-56 6spd transmission.
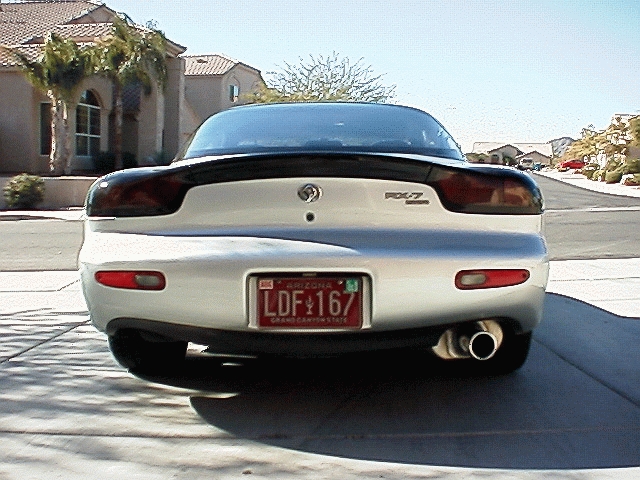
This engine conversion passed Arizona's emissions testing with flying colors, on the first try, bringing a huge sigh of relief (and a great big smile) from Bill.
The car is a daily driver, and retains all the creature comforts.
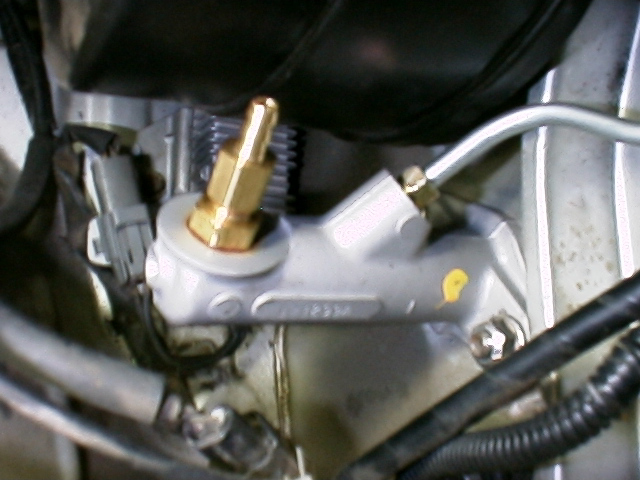
This conversion uses the RX-7's power steering pump, and the LT-1's AC compressor, which was plumbed using specially made adapter hoses. The RX-7 temp sender was easily installed in the Chevy engine, as were the oil pressure and oil level sensors. The T-56 transmission uses an electronic signal for measuring vehicle speed, which easily signals the RX-7's speedometer using a Dakota Digital programmable interface. Although the RX-7 tachometer can be re-calibrated for use with the V-8, Bill decided to use a Dakota Digital programmable tach interface as well.
The LT-1's throttle cable attaches directly to the RX-7's throttle pedal, requiring only a small spacer and no adapters.
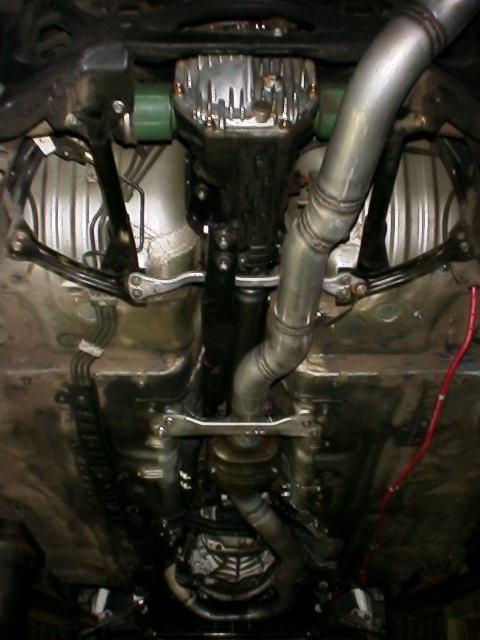
Although it may be hard to believe, this conversion uses the stock RX-7 radiator, with NO modifications, in it's stock position. The RX-7's oil cooler also remains in it's stock position, and everything is plumbed into the Chevy engine using custom hoses. The front sway bar also stays in it's stock location. The LT-1 uses an electric air pump, controlled by the ECU, which was also installed.
The ABS braking system, which has it's own speed sensors at each wheel, is not effected by the engine/transmission change.
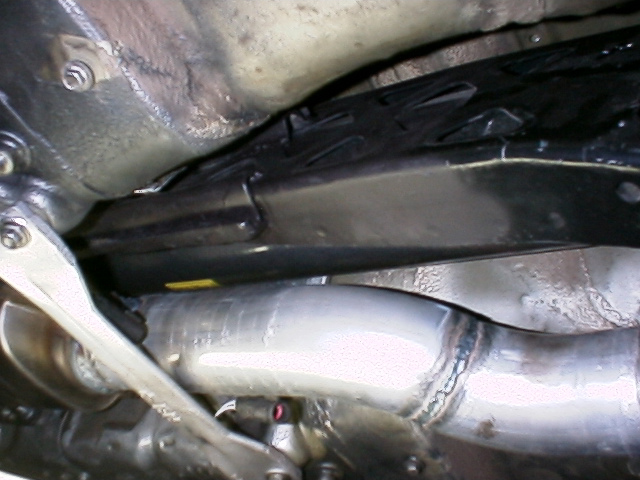
Because of the limited distance between the steering rack and RX-7 hood, the stock LT-1 oil pan requires a little massaging to provide clearance for a fitting in the top of the rack. This mod allows the lowest possible engine position, and gets us about 100 thousandth's of an inch hood clearance at the LT-1's throttle body.


After Bill is convinced that he has wrung out all the electrical bugs, he plans to document every wire connection - from harness to harness - as installed. This would have saved him at least 80 hours if he have had the same at the onset.

...the steering rack mounts on the new subframe had a fitment problem with the locating shoulders on the left side. Recontouring the shoulders with a Dremel tool corrected the problem. Another fitment problem was encountered when the subframe was bolted to the car. It seems that the thorough sandblast treatment the subframes were subjected to, prior to powdercoating, had an effect on the finished dimensions of the parts. Once again, minor machine work was needed to grease the wheels of progress. The problems, which effected the first run of subframes, has been corrected.
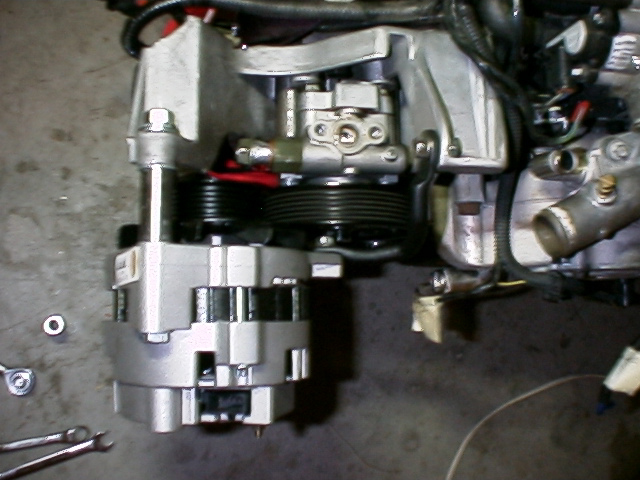
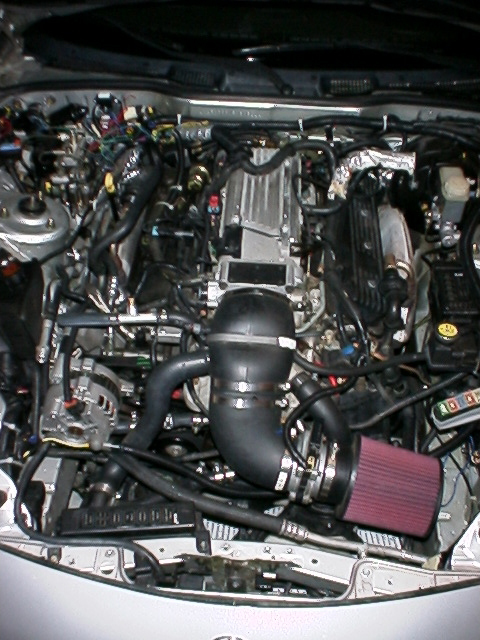
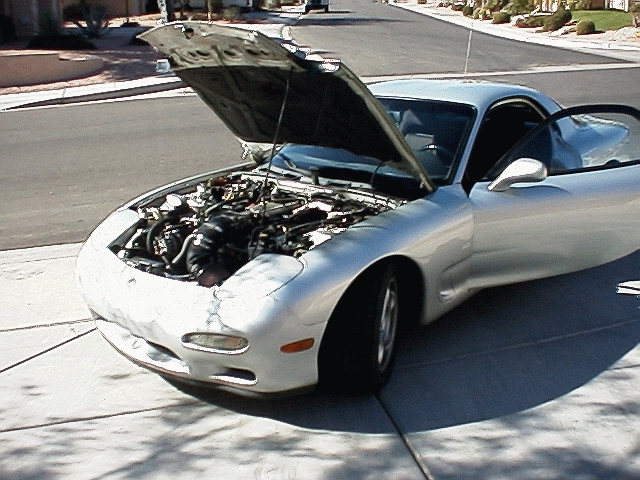
...the alternator and oil fill tube were much too high to clear the RX-7's hoodline. The alternator was relocated (as pictured above), and the standpipe portion of the fill tube was removed.
...the LT-1's EGR valve is located in an extreme rearward position atop the intake manifold, and interferes with the firewall. Possible fixes were to eliminate the offending valve, relocate the valve, or move the engine forward. As you can guess, there was no way in hell that we were going to move the engine forward (a move in the wrong direction with regards to overall balance), and removing the valve would be a big stumbling block at the emissions inspection. Aluminum blocks were made to bolt over the EGR ports, and copper tubes were added to move the valve to the open area in the intake valley just in back of the plenum.
...we found that hood clearance was going to be a real balancing act. In order to get the engine low enough so that the throttle body could clear the hood, oil pan massaging is required to allow clearance at a hose fitting that protrudes from the top of the steering rack. After quite a few trial fitting sessions, the engine was positioned up from it's origional location. This provided a little more room for engine movement above the steering rack fitting, and was acomplished by modifying the Energy Suspension polyurethane engine mounts that were used. Using clay positioned atop the throttle body, clearance with the hood closed was confirmed at around 100 thousanths of an inch. Pretty tight.
...the RX-7 power steering pump was fitted in place of the LT-1's origional pump. The Chev aluminum bracket was modified to accept barstock stantions Bill used to mount the RX-7 pump. This mod eliminates any worry about a change in "feel" with the RX-7's variable assist power steering system.
...a minor glitch prevents the Chevy "low oil" sensor from turning out the RX-7's "low oil" light. We haven't had time to troubleshoot this one yet.
...the RX-7's tachometer, after the LT-1 was installed, reads twice the actual engine speed. This can be corrected by removing the dash and re-calibrating the tach internally, but Bill elected to use a "tach interface" from Dakota Digital. The interface (Dakota PN# SGI-5/tach) costs around $100., and has a series of dip switches the can be set to provide a digital ratio adapting effect for the needed correction. The ratio required is a straight 2:1, and installation is easy.
...The speedo was less straight forward. Long story short, the Dakota Digital SGI-5 ($79) signal interface does not have infinite adjustability. It has two different pulse rate inputs, and two different AC outputs (thats what the Mazda speedo needs) for each of the inputs. Once you choose one of the input/output ranges, then you have a four to one adjustablity range via dip switches, with loads of resolution. Problem was, if he pulled his input from the VSS leads directly, as he initially did - at the Engine Control Computer connector, you are getting a high speed signal in. He did it this way initially as the location of the computer and the SGI-5 made this easy. This is all well and good and you can talk to the SGI-5 this way and gets lots of adjustability in the output signal, just not enough to get it right. Rough calculation is that from this high speed signal he needed about a 7:1 signal reduction to end up at 8202 pulses per mile (Mazda RX-7 speedo spec). This ratio appears to be smack dab between ranges provided by the SGI-5. So, he reverted to pulling the signal in from the output lead for the Chevy speedo on the engine computer, which is already reduced to a low speed signal of 4000 pulses/mile. He used the low speed input on the SGI-5 and scaled the output up to get 8208. Because of the way his harness is arranged this was a hassle to wire, but works well. He reports that it is now dialed in nicely.
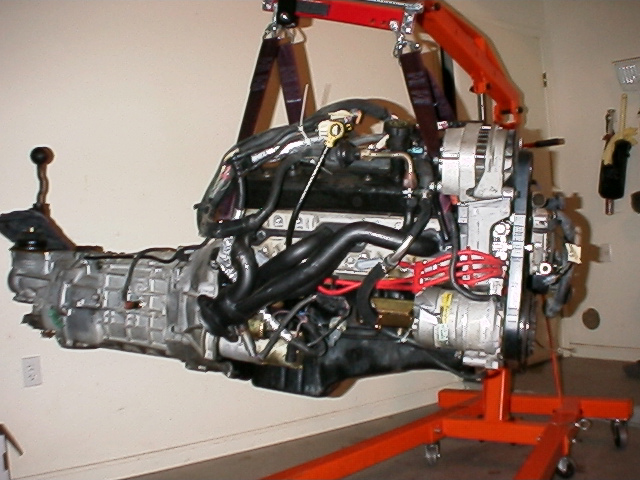
...in the end, the Hooker Headers for the Camaro (pictured above on the engine/transmission suspended from the hoist shot) did not work out. For now, this car uses the stock Camaro cast iron exhaust manifolds.


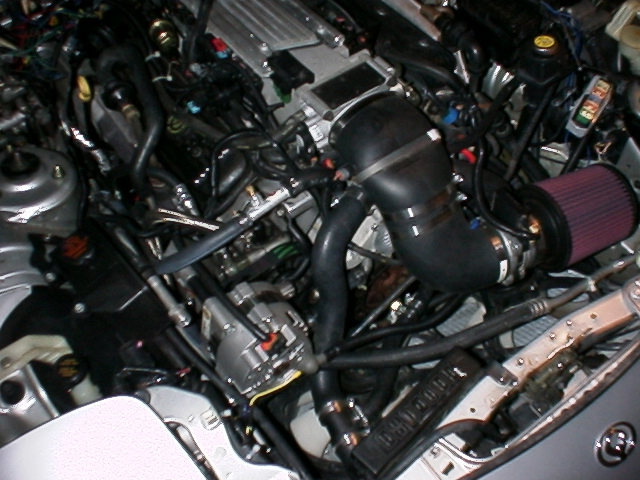
Bill has been working on a cold air box and ducting for the air cleaner, and has this to report. "I am just finishing an aluminum air box. It was quite a little fab job, but fun. I drove the car day before yesterday with the cardboard mock-up installed and ran it with my scanner in monitor mode (real time data). The intake air temp was reduced from about 105 degrees to 75 degrees. I was surprised to see that the intake temp was not reduced to ambient temp, it was about 65 out, but that is still an improvement. I don't have enough data to know if the water temp was reduced, but it appears that it was. Prior to the airbox, the engine ran consistently at 206 degrees. With the airbox it was running 201-202. I guess I would not have expected this reduction, if indeed the numbers are accurate. I'll send some pictures when it is done".
"Well, I took my car to the local drag strip for run-what-you-brung night. $15 and as many runs as you can make, waiting time not withstanding. Made five runs and finally got it about right on the last pass, did a 13.540, @ 103.12, 60 foot was 2.123 sec. It was hard to keep the rear end from breaking loose on the line, but with a little practice I managed.
Good news on the weight front. They had a digital scale at the track and I am happy to report that the total weight was 3000 lb on the nose. That was with 100lb ballast in the tire well. However....it turns out that I was rear heavy to the tune of 50 lbs!! Therefore, I dropped some ballast and the final total weight of my car with half a tank of gas is 2950 lbs! Not bad. That means that if I am making about 315 HP, I am officially under 10 lbs per HP. That was my original goal. Next step is to get up to 350 HP. That should help in
the quarter too."
Not bad for a stock OBD-II, cat converter and cast iron exhaust manifold equipped daily driver.
A few minor improvements are now planned. The first will be a new set of wheels and tires for the car, followed by a set of 1.6 roller rockers for the engine.
Bill also sent some pictures of the neat cold air box he fabricated from sheet aluminum, I'll add them as soon as I get a chance.
....so what if I want to convert my RX-7 to V-8 power too ?
You can contact us, by phone or e-mail, with any questions you might have about converting your car or placing your order. e-mail me at grannysspeedshop@verizon.net, or call at 360-391-1208 / 360-853-8219